Supporting materials
Download
Download this article as a PDF


Do air convection currents really move as they are drawn in textbook illustrations? Let’s make invisible convection currents visible using mist.
Using science demonstrations to communicate scientific ideas is an age-old practice that remains effective today. While infographics can be useful for illustrating certain concepts or phenomena, they only happen on paper, unless one makes direct observations. This is where demonstrations can bring scientific concepts to life in the classroom, making them tangible and memorable for students.
Gas convection currents are difficult to visualize because, unlike coloured liquids, coloured gases are hazardous. A possible demonstration can be done using smoke from a small flame travelling through an air convection current setup.[1] In Activity 1, we describe an alternative method of visualizing convection currents using mist and an electrically powered heater. Due to the absence of open flames, the demonstration is safer and more accessible. The robustness of the setup allows one to explore beyond the curriculum content and move into scientific thinking. In Activity 2, students engage in the process of scientific inquiry by proposing experiments to test an explanation for the phenomenon seen in Activity 1.
The activities require the use of an air current visualizer, which should be constructed before the class.
The visualizer should be constructed before the class, as described below. More detailed assembly instructions can be found in the supporting material.
For a DIY humidifier (one can also use a ready-made home-use humidifier.)
For an enclosure with accessories
The setup should be constructed as shown in figure 1.

This activity can be performed as an in-class demonstration by a teacher introducing the concept of convection currents in air. The visualization of convection currents is captivating and enhances the joy of learning. Student engagement can be boosted with the predict, observe, and explain framework suggested below. The setup can be further used for scientific-inquiry-based discussions (Activity 2) and/or modified to illustrate how temperature differences can create wind, such as a sea breeze.
The target audience can range from ages 11 to 16. The demonstration will take 5–10 min. The setup takes an hour to build and optimize.
Potential burn and electrical hazards. Use a low-power electric heater (5 V DC) that does not go above 60°C. The mist maker used here requires a 12 V DC source. Use the adapter and read the instructions provided by the manufacturer. Use the mist maker only when it is fully submerged in water.

When the heater is off and at RT, the mist flows symmetrically towards both sides of the transparent tube. Upon exiting the tube, the mist sinks to the bottom at both ends. This happens because mist is denser than air. At this point, the teacher may remind students that mist is not gaseous water vapour but very tiny liquid water droplets. These droplets help to visualize air currents.
Upon switching on the heater, we observe that the mist soon begins to rise. This happens because warm air near the heater rises, carrying the mist upwards with it. As it rises, the air loses heat and sinks back down after reaching a certain height. The cyclic movement of a fluid (such as air) due to temperature differences is known as a convection current.
Optional extension: although the activity is written here as a class demonstration, students can engage with this as a hands-on project, in which they construct the visualizer themselves with the equipment provided, tinker with it, and then follow through with the procedure as a whole-class activity.
Science education goes beyond teaching content. Students should also learn about how science progresses through the process of scientific inquiry. In this activity, students are presented with an alternative explanation for the phenomenon observed earlier. They propose experiments aimed at obtaining evidence to either support or falsify the explanation.
Students work in groups to brainstorm ideas and draft an experimental proposal. It is helpful for the teacher to check in on each group and provide suggestions and formative feedback. After the students submit their proposals, the session can be wrapped up by demonstrating a simple experiment to test the alternative explanation.
The target audience can range from ages 14 to 16. Allow at least 20 min for group discussions. The demonstration to test the alternative explanation will take 5 min. The grading and feedback for each group’s submission will take about 15 min.

This activity aims to immerse students in the process of scientific inquiry by having them design an experiment to collect evidence that can be used to judge a scientific explanation. As the task is probably unfamiliar to most students, it is advisable for the teacher to walk among the groups and provide feedback and guidance as needed. Advise the students to keep their proposals simple, feasible, and relevant, while encouraging creative ideas.
If students complete their experimental proposal well within the given time, they can be asked to predict the possible outcomes and provide corresponding interpretations.
For the demonstration shown at the end of the class, students may have to be guided along the flow of logic in interpreting the results. If the alternative explanation is true, then radiation from the heater will cause the mist to move to the right. However, it is observed that the mist does not move to the right; hence, the explanation is falsified.
It is important that science demonstrations are not just about theatrics and demonstrations of phenomena. A good demonstration should engage students with a minds-on experience to enhance learning. Asking students to predict a causal effect, make meaningful observations, explain phenomena, and propose experiments to test the explanations are ways to encourage scientific thinking while students watch the demonstration.
This activity provides an opportunity to engage students with the curriculum topics heat transfer (via convection), air currents, states of matter, density, and the scientific method.
[1] A demonstration of convection currents using smoke: https://schoolscienceexperiments.com/convection-current-experiment-science-projects/
Sometimes students find difficulties in understanding certain facts described in science books. If possible, they should have the opportunity to carry out investigations and feel like real scientists.
In this article, a spectacular visual demonstration of air convection currents is described, which makes the invisible convection currents visible. If scientific concepts are brought to life, they are more memorable. Moreover, this practical activity can be used as an excuse to talk about the scientific method and make students play the role of scientists. Consequently, they can realize the different steps that have to be taken in order to achieve scientific progresses.
Mireia Güell Serra, Chemistry and Maths teacher, INS Cassà de la Selva, Spain
Download this article as a PDF
Sketch graphs from ‘story’ videos of everyday events to help students understand the basic features of graphs and how to interpret…


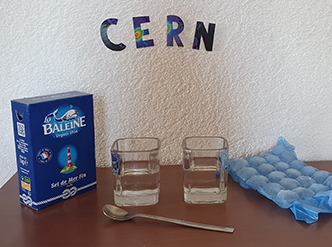
Explore phase transitions between different states of matter through a series of engaging hands-on…


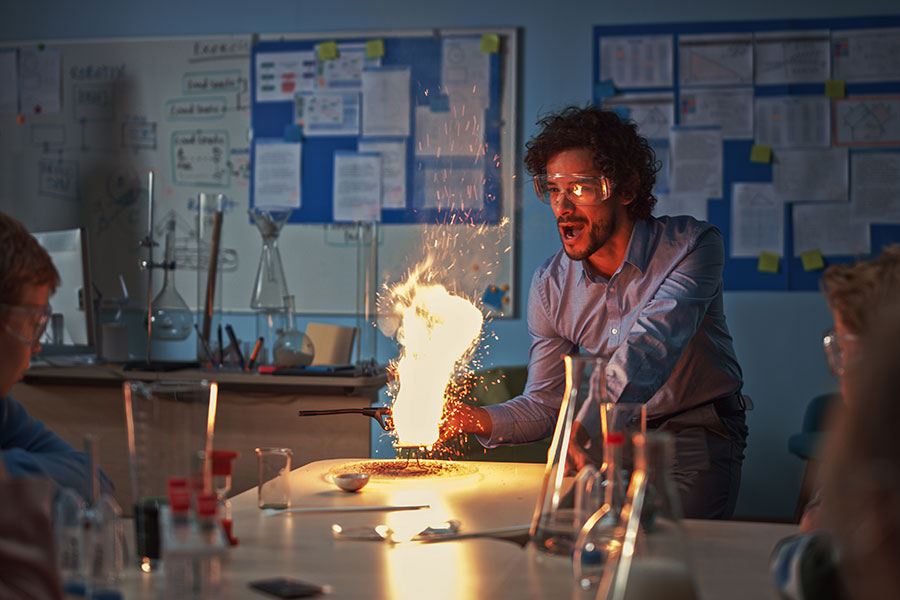
Seeing is believing: although hands-on practical work is incredibly important, the value of an engaging demonstration should not be overlooked.…


