Supporting materials
Download
Download this article as a PDF


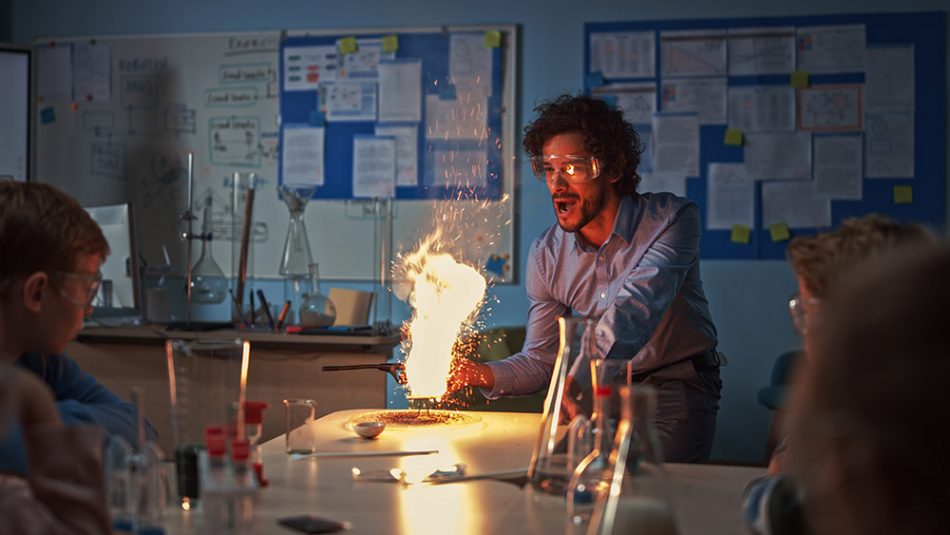
Seeing is believing: although hands-on practical work is incredibly important, the value of an engaging demonstration should not be overlooked. Explore how demonstrations can enhance STEM teaching and learn how to make the most of them.
Practical work has an iconic role in science education, but is it necessarily the case that putting equipment in the hands of students results in more effective learning? It is important to identify what the intended learning is to decide on the best teaching strategy. In Analysing Practical Science Activities to Assess and Improve their Effectiveness, Millar[1] argues that
“… practical activities can be divided into three broad groups that help students
These are all great aims; the challenge for teachers is to identify and deploy activities in lessons to ensure progress.
We shouldn’t assume that students doing practical work in small groups, or as individuals, is automatically the best way of achieving these outcomes. A skilfully selected and well-run demonstration can have a strong impact, especially if the intended learning is something other than proficiency in manipulating equipment. There are many reasons why this might be so.
One of the activities in Good Practical Science: Making it Happen[2] is designed for a group of science teachers to share insights into whether, for a particular situation, it would be better to run a group practical, arrange for individuals to do a particular activity, or to use a demonstration. It starts off by asking teachers to decide how to run particular experiments, but then asks for justifications, and it is these that often lead to the greatest insights. This is all designed to challenge the assumptions that because a particular activity could be done as a class practical it necessarily should be and that students automatically learn more if they have equipment in their hands.
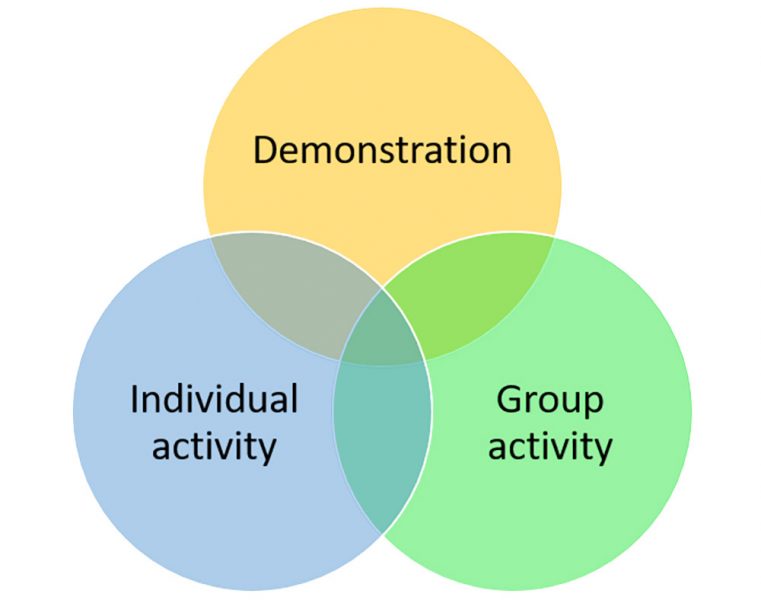
This isn’t an argument against practical work, which is vitally important, but rather one in favour of selecting learning activities that have the greatest impact for the desired outcomes.
Let’s consider the challenge of actually running a demonstration. In essence, there are three things occurring at the same time:
Therefore, a demonstration is a higher-order skill; it requires a combination of proficiencies and may need practice, focus, and development. An unsuccessful demonstration may detract from a student’s comprehension. It is certainly a good idea to practice using the equipment in advance, if you are not familiar with the apparatus; there should be no surprises for you when you start the demonstration. It is also a good idea to have broader questions prepared in advance and ready to display.
There are many ways to enhance the impact of a demonstration.
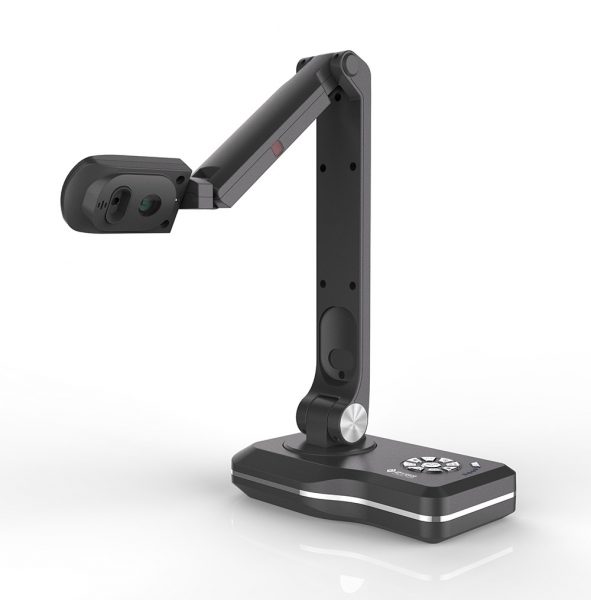
It’s important to think of the visual aspects of a demonstration. The traditional version has the teacher talking whilst manipulating apparatus that perhaps not all students can clearly see. In this case, teaching is relying very much on a verbal narrative, and if the students lose this thread at any point, they may not learn as much. There is also a good chance that much of what the students can see at the front of the room doesn’t relate to that activity and becomes a distraction. Think about how to set up the front of the room (primarily the whiteboard) to provide a much stronger focus. Is it possible to deploy a visualizer to project an image of the key part of the demonstration? Is there a model, such as a kinetic theory animation, that would be good to display? Think about how a TV newsreader uses visual cues to reinforce the context of a story.

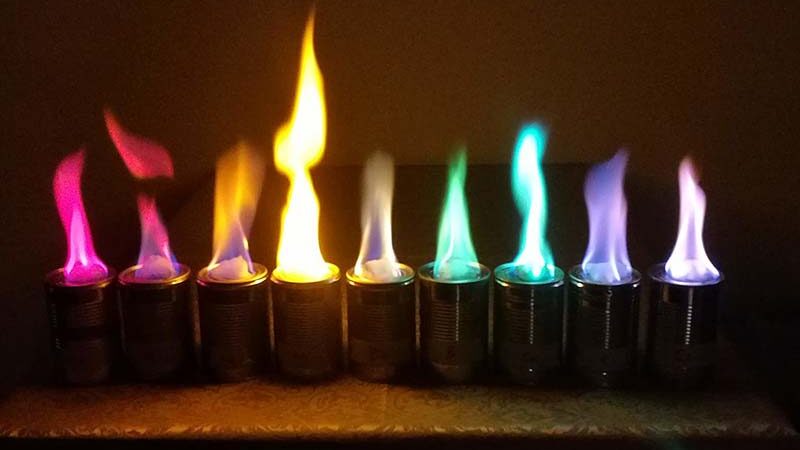
Try to vary the style of questions that are asked. It is tempting to make the questions very closed and specific (What is the name of this piece of equipment? Why do we measure the temperature? What can you see forming?); these serve an essential function but shouldn’t be the whole story. Questions can also serve to extend understanding in other directions (What do you think would happen if we altered the equipment, so that it was steeper/hotter/run over a longer period of time? Someone else did this experiment and their results looked like this (show table/graph chart) – why? Who else might be interested in data on inertia/neutralisation/transpiration?) It is a good idea to prepare questions in advance; even experienced teachers might not find it easy to devise them on the spot.
It is also worthwhile considering how demos can be used to engage students and check their knowledge, rather than to introduce new information. The teacher can ask students to provide instructions for them to follow or ask whether/why a particular step should be done one way and not another. The teacher ‘plays the innocent’ and does (within reason) whatever the students say, to see if the outcome is effective. This is a good way to check if students have understood the importance of each step and place them in a more active role.
If the purpose of the demonstration is to familiarize students with a procedure, don’t rely on a purely oral narrative thread, but have some visible instructions to enable students to relate specific steps to an overall sequence. I’m a big fan of David Paterson’s work on integrated instruction sheets.[3] This provides a structure and reference point to reinforce the points being made by the teacher.
There are two key takeaway points. The first is the importance of selecting lesson activities that best support the intended learning outcomes – in some cases, this may be a demonstration. The second is to ensure we have the skills and competencies to run a demonstration well, so that it is an effective way of teaching. In some teaching teams, this could be a valuable development area and one that colleagues could support each other in mastering.
It’s worthwhile devoting some time and effort to this. Demonstrations are a great way of reinforcing key learning points and finding out what students understand. Good teachers can use them to respond to students’ ideas and interests. There are technical aspects to getting it right, but there is also an art to good demonstrations; like all teaching, it’s about managing relationships. Think of it as ‘teaching with props’.
[1] Millar R (2010) Analysing Practical Science Activities to Assess and Improve their Effectiveness. Hatfield, Association for Science Education. ISBN: 978-0-86357-425-2
[2] Needham R (2019) Good Practical Science: Making It Happen. Hatfield, Association for Science Education. ISBN: 978-0-86357-456-6
[3] Paterson D (2018) Improving practical work with integrated instructions. RSC Education in Chemistry.
Download this article as a PDF