Supporting materials
Observation and adaptation worksheets (PDF)
Download
Download this article as a PDF


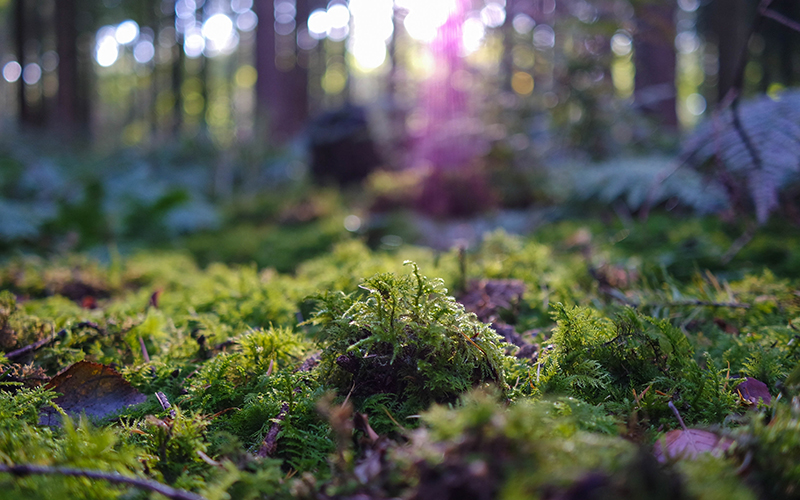
Fantastic beasts: take a microscopic moss safari and learn about the diverse and resilient organisms that live in this challenging habitat.
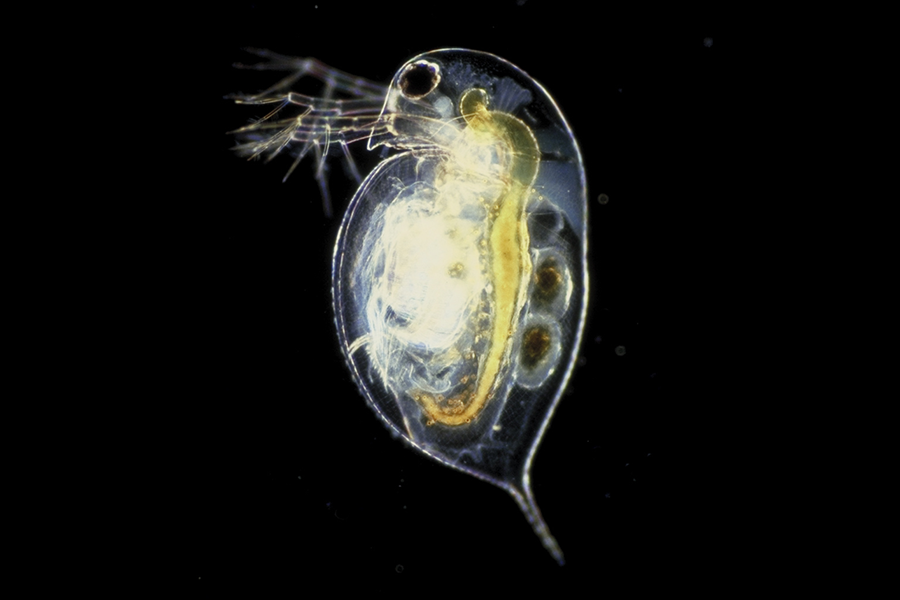
Squeezing water from moss and observing a few drops under a light microscope will reveal the amazing diversity of organisms living within it. From multicellular organisms, such as rotifers, tardigrades, nematodes, mites, and gastrotrichs, to an array of unicellular organisms, including paramecium, euglena, naked amoeba, diatoms, and testate amoeba. Seeing this for the first time can be awe-inspiring but overwhelming. The Moss Safari activity can help teachers and students make sense of this wonderful microworld.
I developed Moss Safari to introduce the habitat of moss and the organisms that live in it to students. Although I have used this activity with all age ranges, this article focuses on 11–16 year olds. The method of concentrating the organisms in a small sample of water is based upon Hingley’s method[1] and was adapted in my research article.[2]

This activity generates awe and wonder and can inspire students to take on further study by realizing science is an ongoing activity. The direct curriculum links include habitat (microhabitats and extreme habitats), adaptation (including extremophiles), classification, food chains and webs, and characteristics of life. There are a number of other curriculum opportunities that can be emphasized, including using a light microscope, observing and recording from a microscope, the history of the microscope, and the nature of scientific research. Furthermore, moss can be used as a model microecosystem to generate discussion about sustainability in local and global ecosystems (for example, there are often microplastics found in moss). Finally, to add a competitive element, students could go on a microscopic treasure hunt in their school grounds or local community to find tardigrades.
Moss grows in most climates, but there are particular times when it can be more visible, such as months with more rainfall. Moss can usually be collected from the local area; in temperate regions, moss cushions often can be found fallen from building roofs. In drier regions, look for moss growing in shady places, such as the base of walls, between paving slabs, on the bark of trees, and within grass.
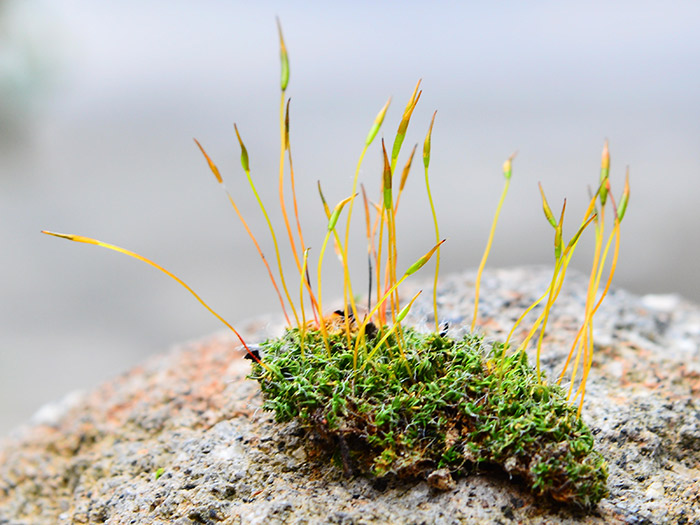
Only a small sample is needed, about the size of a thumbnail (1 cm3). Students can be sent into the school grounds to collect their own sample, asked to bring a sample from home, or the teacher can bring in moss from their own source to save time.
In drier climates, if moss is not easily found, look for lichen on stone walls, rocks, or tree trunks. However, check that the lichen you are using is not a protected species. Scrape a small sample into a bag to bring to the lab. Also consider looking at indoor houseplants or greenhouses, where moss can be found growing in some damper plant pots.
Students should be encouraged to photograph the moss in situ before it is collected, noting the physical features of the habitat.
A moss sample, unless already sodden from rain or standing water, should be soaked for at least an hour, ideally 24 hours, in rainwater, distilled water, or mineral water. Note that chlorinated tap water can harm the organisms.
Using the moss squeeze concentrating procedure described below (steps 7–10) can maximize the number of organisms in the sample. Technicians can prepare a bulk moss squeeze of 50 cm3 or more for a whole class to use as a sample.
This activity can be done in an hour, but a longer session is beneficial.
Moss Safari can be introduced using the desired curriculum focus. In this example, the focus will be on adaptations and survival in extreme environments.

Using the Moss Safari slides, moss can be introduced as an extreme environment and the Big Five multicellular organisms can be described. Students can be given the Big Five identification sheet. If you have a camera to attach to a microscope, you can demonstrate the procedure (steps 3–16). The teacher infosheet can be used as a source of interesting facts to share with students or research in more detail.
Students should be given at least 30 minutes to do their own safari and use the observation worksheet to record what they observe, including structure, behaviour, and adaptations. The adaptations worksheet can then be used to think about the ecological adaptations in more detail.
Take the usual precautions when using freshwater and biological materials. Cover cuts or wear gloves, and wash hands thoroughly after the session.
Glass microscope slides and coverslips are fragile and have sharp edges if broken. To avoid cuts, sweep broken glass up using a dustpan and brush and dispose of safely.


Students should be encouraged to ask questions and observe carefully, drawing on prior knowledge of organisms, cells, body systems, and adaptations, or on further research. The following questions can be used to encourage discussion.
Discoveries made on the safari
Adaptations
Moss as a habitat
[1] Hingley M (1993) Naturalists’ Handbook 20: Microscopic Life in Sphagnum. Pelagic Publishing, Slough.
[2] Chandler-Grevatt A (2021) Moss Safari: inspiring interest in nature under the microscope. School Science Review 102 49–55.
The teaching approach in this article is inspiring and applicable to a range of topics and age classes. Due to using the nearby outdoor environment, most schools throughout Europe will be able to give their students hands-on discoveries of fascinating and unexpected species in their everyday surroundings. Letting the students collect the samples themselves will definitely raise their motivation and ownership to “their own ecosystem”. Basic biological understanding about food webs, biodiversity, ecosystems and ecosystem services, survival in extreme habitats, as well as different aspects of scientific literacy can be addressed through this teaching unit.
The teaching unit may be used for understanding sustainability as well, if inquiries into this micromodel of an ecosystem are transferred to regional or global environmental issues. Even small children understand that by removing the moss patches, biodiversity is equally reduced as by cutting down a forest or building a new highway on a macro scale. At the same time, it raises hope by showing nature’s resilience and adaptations to extreme challenges.
Another context would be to send your students on a treasure hunt for tardigrades, fascinating organisms that survive most conditions and often seen in newspaper articles, but seldom acknowledged in your neighbourhood.
Jan Höper, Senior lecturer in Science Education. UiT The Arctic University of Norway
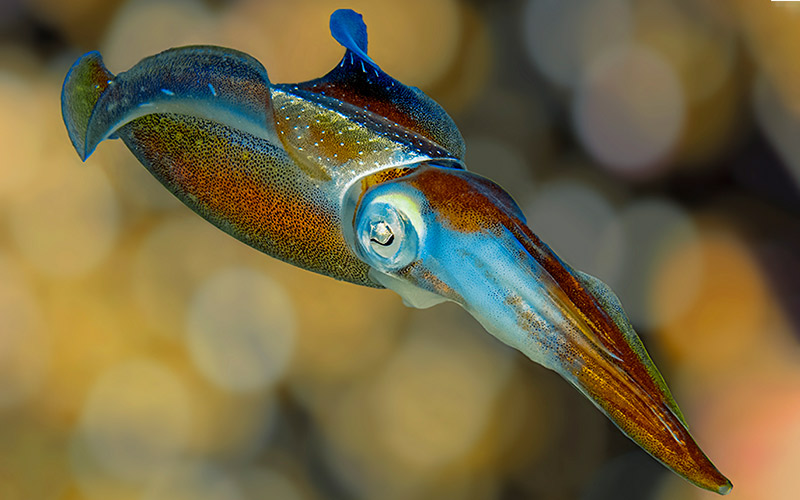
Did you know that a squid’s brain is donut shaped, so that the oesophagus can pass through it? Or that squid have three hearts? Explore the fascinating physiology of squid in this hands-on activity.


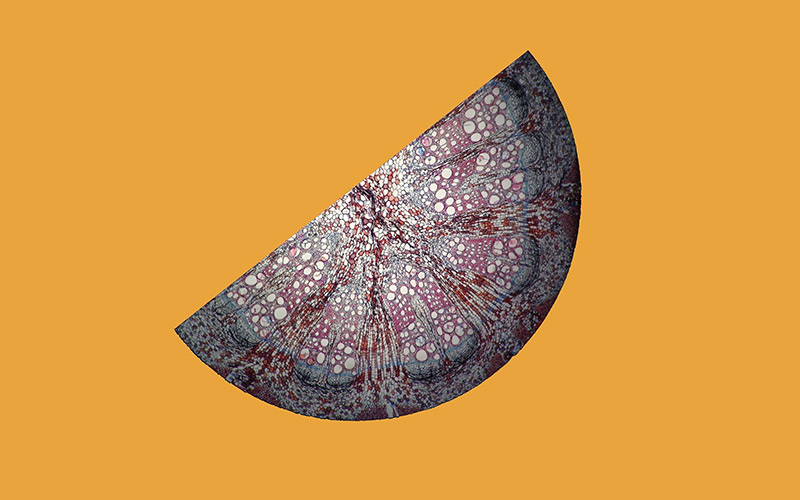
Great and small: use this photomicroscopy project to explore the way structure relates to function and the links between science and…

How do social drugs affect metabolism? How is toxicity measured? How does climate change affect water ecosystems? Promote active learning by…
