Supporting materials
Download
Download this article as a PDF


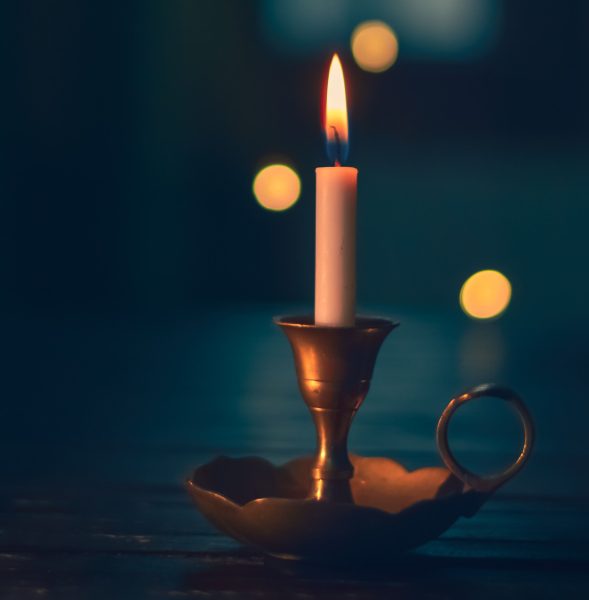
Three candles of different heights are lit in a closed space. Surprisingly, the longest candle goes out first. Can you solve the mystery?
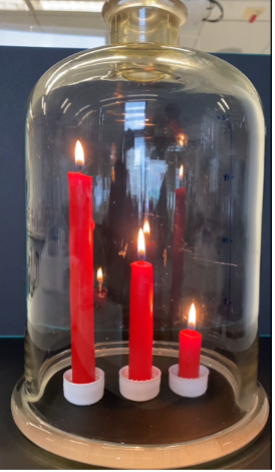
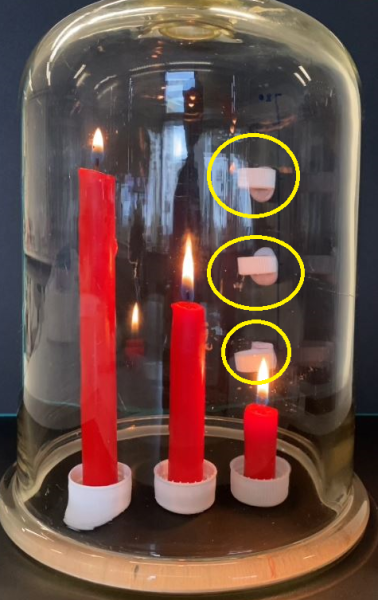
In a classic demonstration of the candle mystery, three lit candles of different heights are covered with a gas jar (see figure 1) and the tallest candle goes out first. This happens because carbon dioxide produced from burning has a higher temperature, so it rises and accumulates at the top of the jar. Then the carbon dioxide gas cools down, falls, and extinguishes the tallest candle first. This article builds on the classic demonstration of the candle mystery and advances it in three ways. Firstly, the 5E instructional model[1] is used to develop learning activities that require students to construct, revise, and apply scientific explanations in unpredictable contexts. Secondly, these activities aim to help students test their hypotheses by using and coordinating multiple pieces of evidence. Thirdly, these activities include experiments and discussion tasks to challenge students to predict and explain results. By adding variables to the candle mystery, you can engage students and promote critical thinking and scientific understanding.

The experiments can be conducted as demonstrations or as hands-on practical work for small groups of students. They are quick and easy. The activities can be used with students aged 11 to 16.
This activity aims to set up a scenario to engage students in inquiry. When three candles of different heights are lit and covered with a gas jar, students are prompted to predict and explain which candle they think will go out first. Allow 40 minutes for the prediction discussion, experiments, and collaboration.
Before the lesson, the setup should be prepared by the teacher or teaching assistant.
Practical tips:
Watch a demonstration of Activity 1.
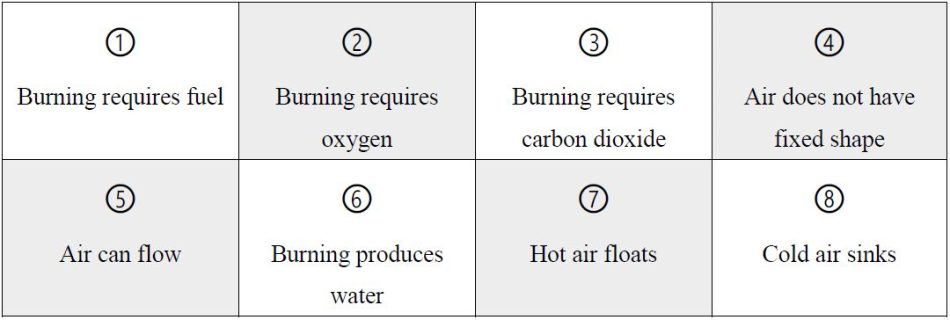
You can adopt the think–pair–share approach to engage with student thinking in step 1. In this approach, students are asked to predict and explain individually which candle would go out first. They then share their predictions and explanations in groups of three or four, followed by a whole-class discussion. You can capture students’ initial ideas and reasoning and stimulate students’ thinking using the following questions:
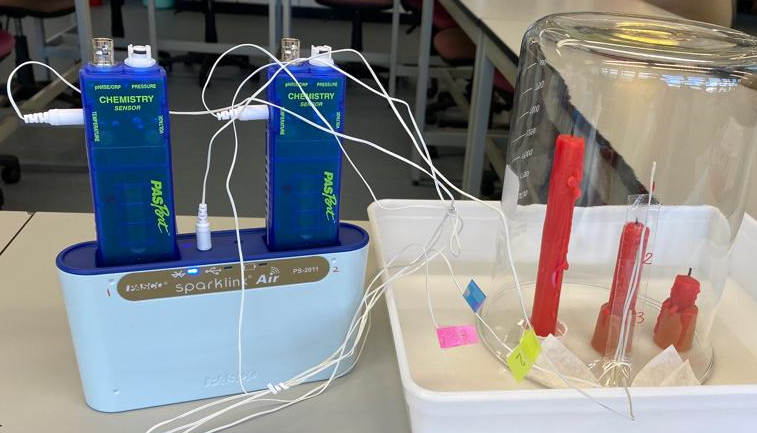
Instead of explaining to students that hot carbon dioxide rises to the top of the jar and extinguishes the tallest candle first, a discussion to help them think it through themselves will lead to better understanding. It is important to allocate time and support for students to reflect thoughtfully. They can test the explanation by monitoring changes in carbon dioxide concentration[2] and the temperature inside the gas jar. The activity takes about 40 minutes.
Part 1: Why does the tallest candle go out first?
You can also link this to the real-life situation of escaping from fires by asking questions like:
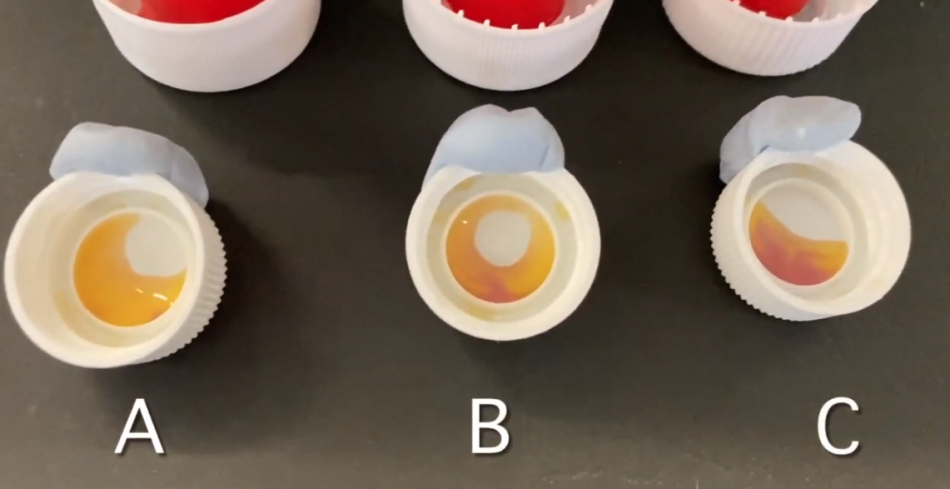
Part 2: Monitor the carbon dioxide concentration
Safety note
A safe distance between the flame and Blu Tack/tape should be maintained to avoid melting of the Blu Tack/tape.
To ensure fair testing, the amounts of bicarbonate indicator added to the bottle caps need to be the same.
Watch a demonstration of Activity 2a.
Part 3: Monitor the change of temperature
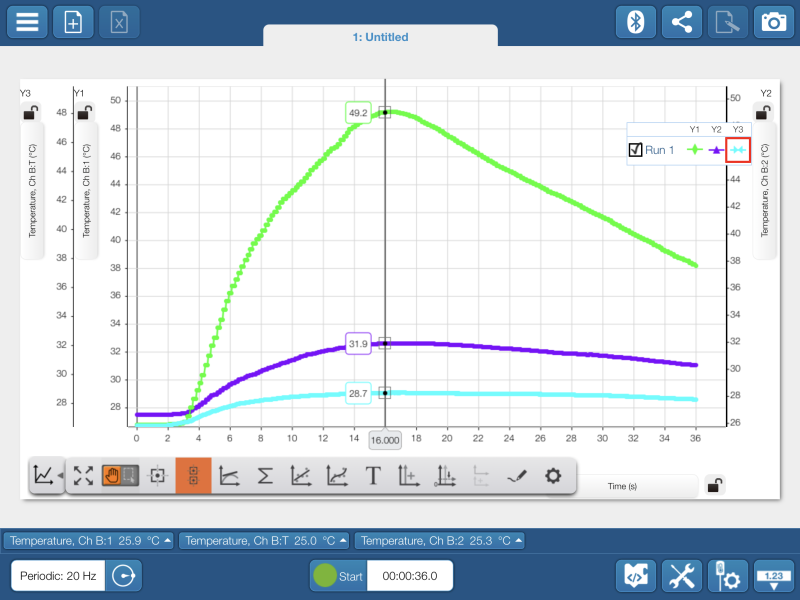
The results should show that the carbon dioxide levels and temperature rise more towards the top of the jar. Discuss with students whether these results support their explanations. Are there any alternative explanations that are consistent with the results?
To assess students’ deep understanding and ability to apply their explanations, you can introduce variations of the candle experiment in different contexts. Challenge your students to consider what they think might happen if we place the candles in separate jars.[3] Additionally, ask them to explore the results if we introduce an electric fan into the setup. This can be combined with another think–pair–share activity to promote discussion and evaluate their understanding of the concepts. Allow 40 minutes for the experiments and discussion.
Part 1: Burning candles in individual beakers
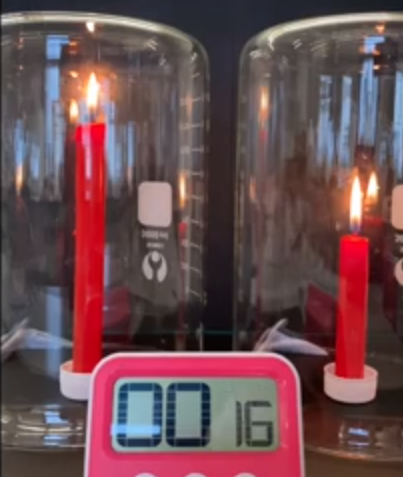
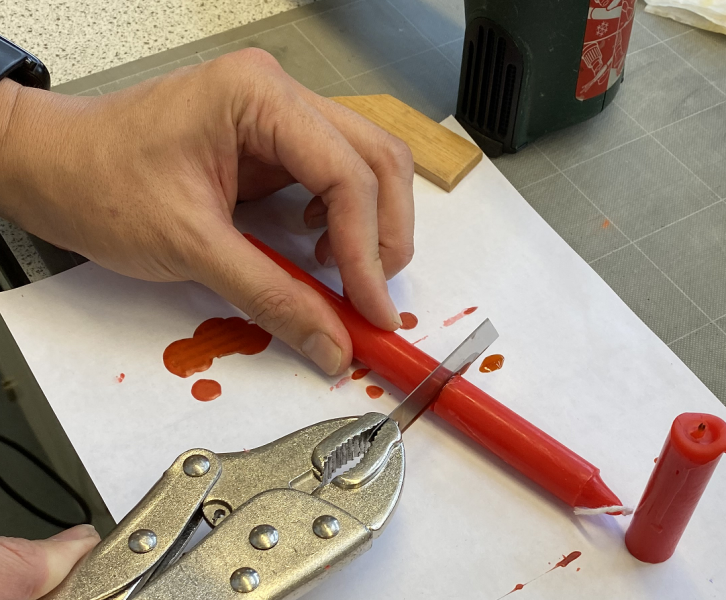
To ensure fair testing, the volume inside the beaker must remain the same throughout the experiment. If a candle needs to be cut, the cut pieces should be placed inside the beaker.
Watch a demonstration of Activity 3a.
Part 2: Burning candles near a small fan

Watch a demonstration of Activity 3b.
The candles go out at similar times in the experimental setups with separate beakers or with an additional electric fan. The results contrast the experimental results in Activities 1 and 2. To ensure reliability of the results, students are encouraged to repeat their experiments, which can be performed within 5 minutes. Encourage students to provide explanations for their observations. Students are asked to construct explanations of how and why things happen in the setup using their explanations developed in Activity 2. You may give groups the model answer (Activity 3 explanation) at the end to compare it to their descriptions.
The activities based on simple twists to the classic candle experiment can serve to improve students’ abilities to develop, revise, and apply scientific explanations, as well as to explore scientific skills such as control of variables, hypothesis testing, and coordinating multiple pieces of evidence. As an extension activity, you could encourage students to handle quantitative data in an in-depth discussion and demonstrate their learning through report writing and group presentation. The process of predicting and explaining different unfamiliar contexts can help create valuable teachable moments that motivate students to learn.
[1] Bybee RW (2015) The BSCS 5E Instructional Model: Creating Teachable Moments. National Science Teachers Association Press. ISBN-10: 194131600X
[2] Cheng MW (2006) Learning from students’ performance in chemistry-related questions. In Yung BHW (ed.) Learning from TIMSS: Implications for Teaching and Learning Science at the Junior Secondary Level pp 51–74. Education and Manpower Bureau.
[3] Details for how to investigate candle burning: https://edu.rsc.org/resources/candle-burning-investigation-planning-an-experiment/619.article
Download this article as a PDF
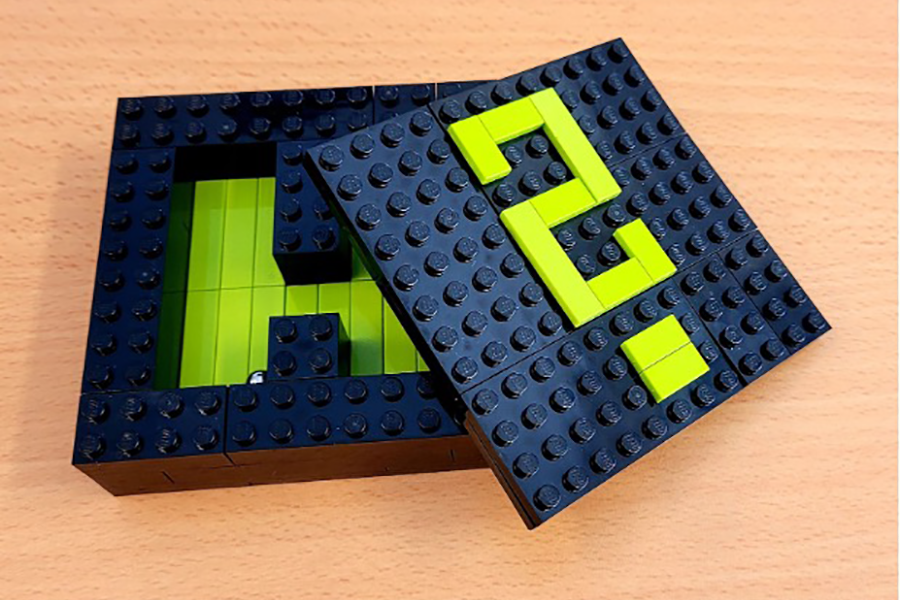
Thinking outside the box: explore the nature of science by building LEGO mystery boxes and challenging your students to solve the…

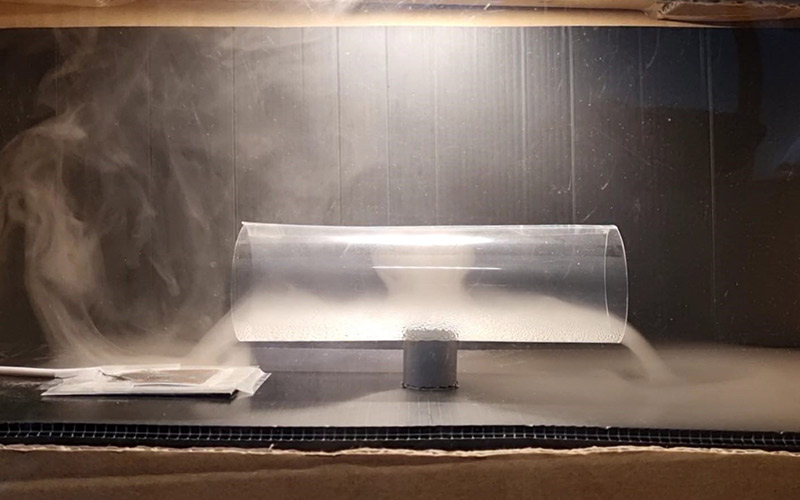
Do air convection currents really move as they are drawn in textbook illustrations? Let’s make invisible convection currents visible using mist.
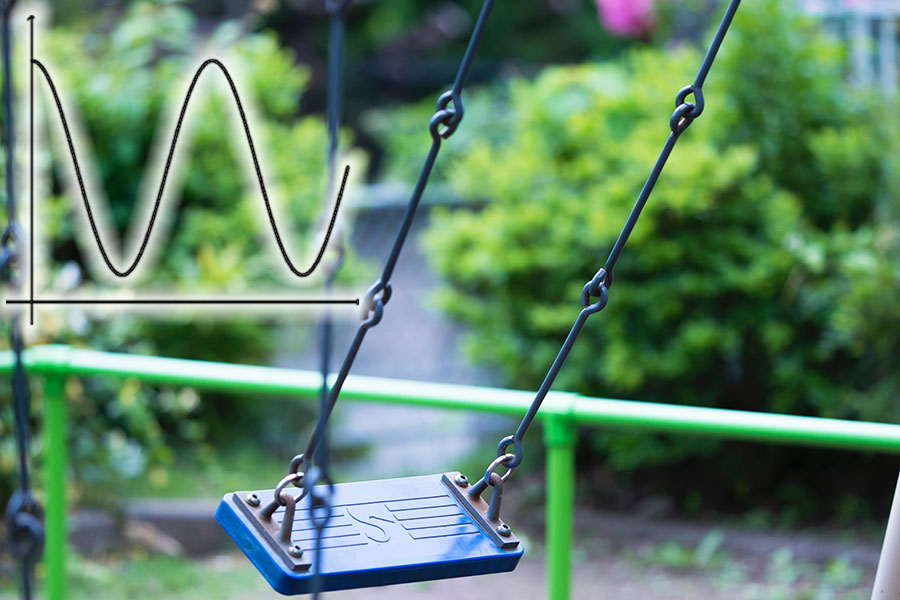
Sketch graphs from ‘story’ videos of everyday events to help students understand the basic features of graphs and how to interpret…

