


To the Moon and back: reflecting a radio signal to calculate the distance Teach article
Using a simple calculation, measure the distance between Earth and the Moon with the help of a local amateur radio station.
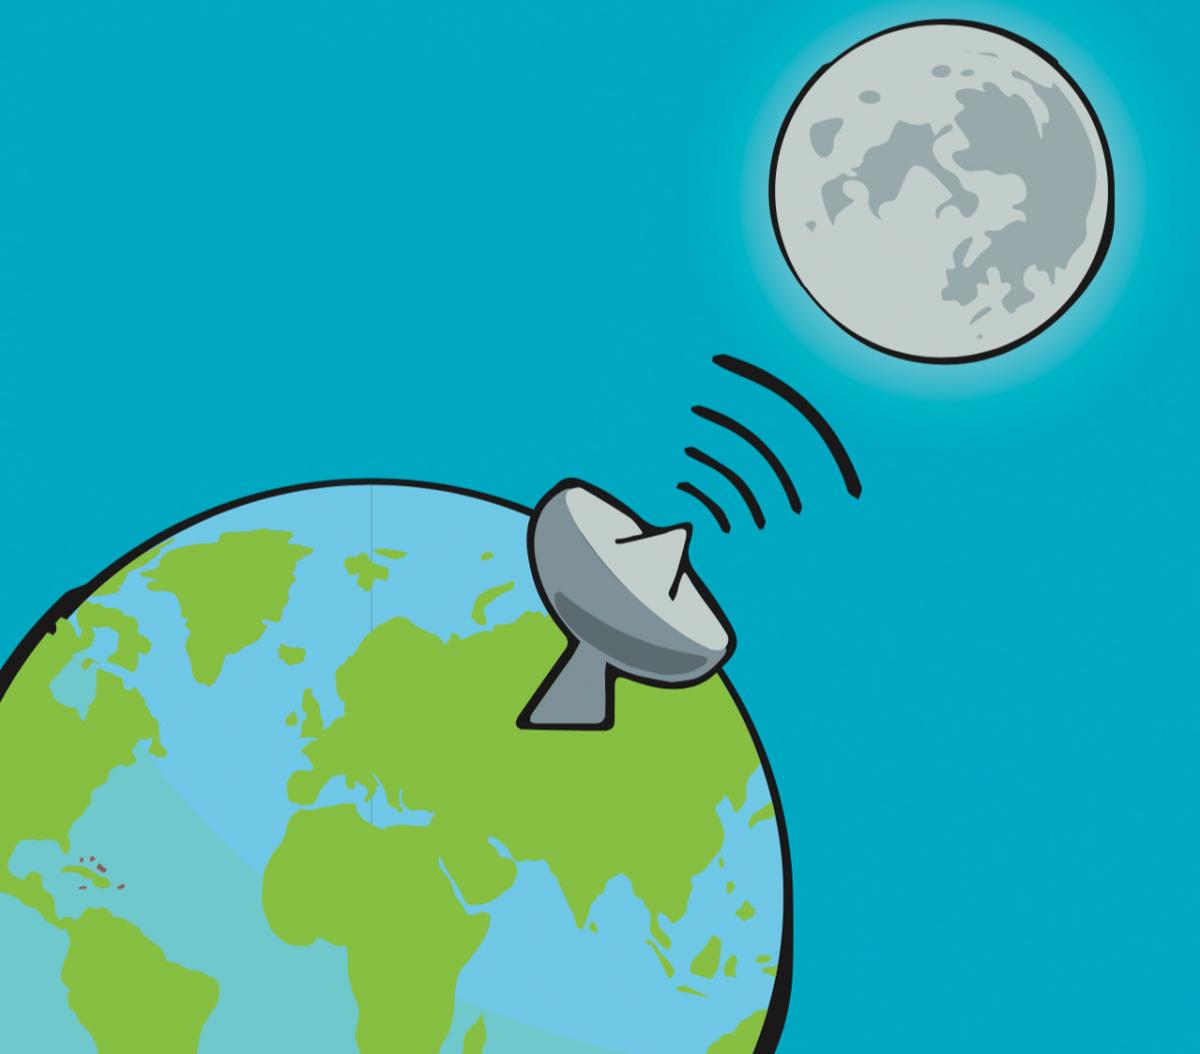
Inspired by an earlier article in Science in School that used photography to measure the distance to the Moon (Cenadelli et al., 2016), we set up an experiment with groups of scouts around the globe to do the same with radio signals. With help from a qualified radio user, the groups sent radio signals from their transmitter stations to the Moon. The signals bounce off the surface of the Moon and back to Earth, where they are detected by a receiver. This radio transmission technique, which is known as ‘moon bounce’ or ‘Earth-Moon-Earth’ communication, was used extensively for military communication in the days before satellites.
Since radio waves are a type of electromagnetic radiation, they travel at the speed of light. Due to the travel time between Earth and the Moon, the reflected radio signal is delayed typically by a few seconds. Using this time delay, the groups calculated the distance that the radio wave travelled and successfully measured the distance to the Moon.
Measuring the distance from Earth to the Moon
In this article, we describe how to conduct the activity at your school, beginning with contacting a radio amateur (a person licensed by the relevant authorities to transmit high-power radio signals) for help. We then explain how to transmit and measure the radio signal, and carry out the final calculation. The experiment, which must be carried out when the Moon is above the horizonw1is suitable for students aged 11 and above and will take around 1.5–2 hours, including set-up time.
For the teacher
The use of an amateur radio station is essential to send the radio signal to the Moon, so you will need to ask your local or national radio amateur clubw2 (most countries have one) for their assistance. People with an interest in radio transmission can take an examination to obtain a licence that allows them to transmit radio signals at amateur radio frequencies.
This requires:
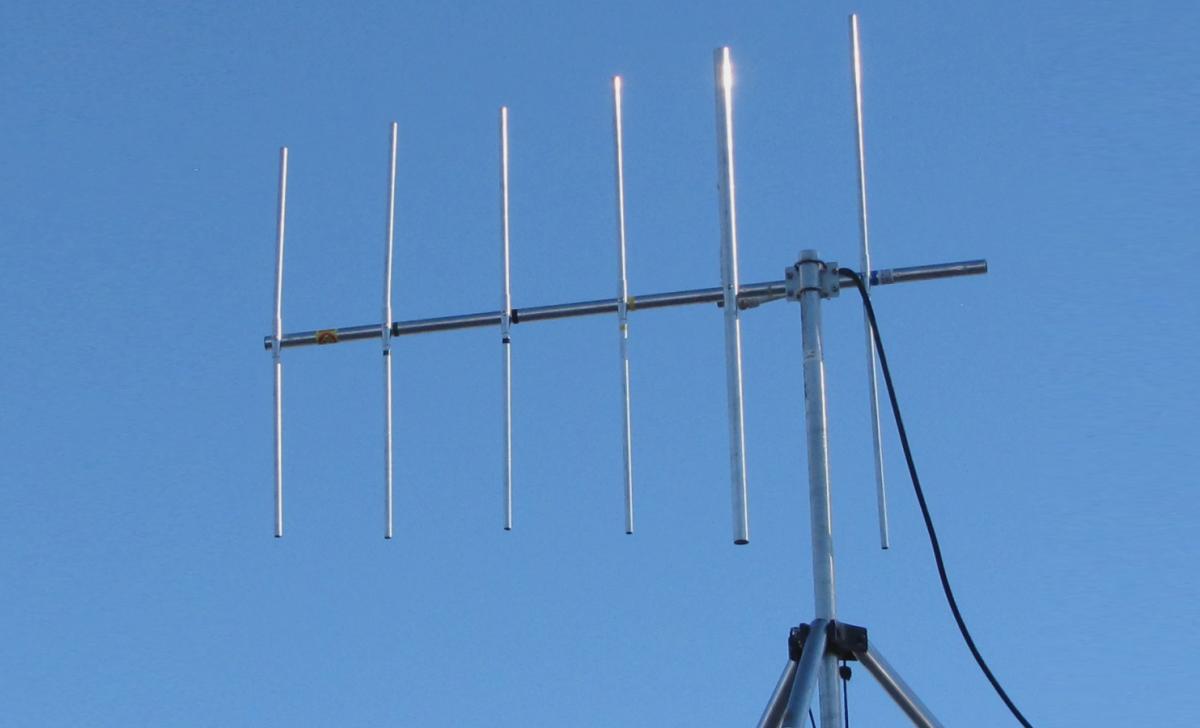
- An antenna capable of being pointed at the Moon to convert the signal into radio waves, and vice versa (figure 1)
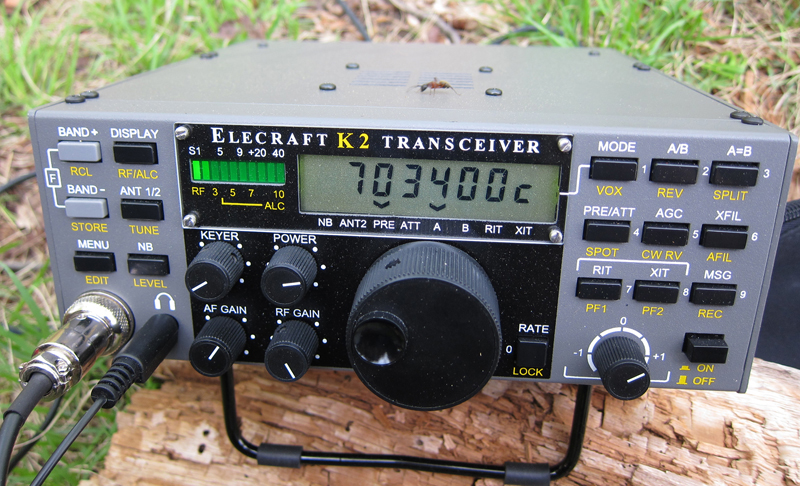
- A radio transmitter/receiver (figure 2) to transmit the radio waves and receive the bounced waves from the Moon
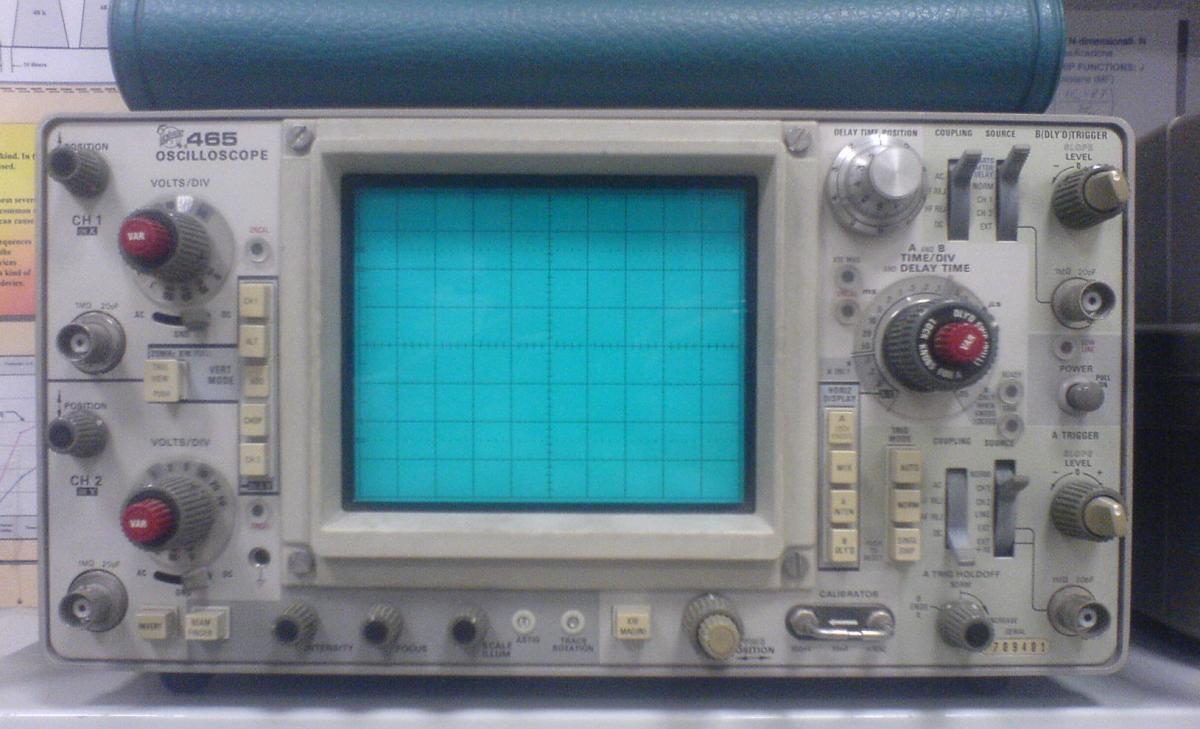
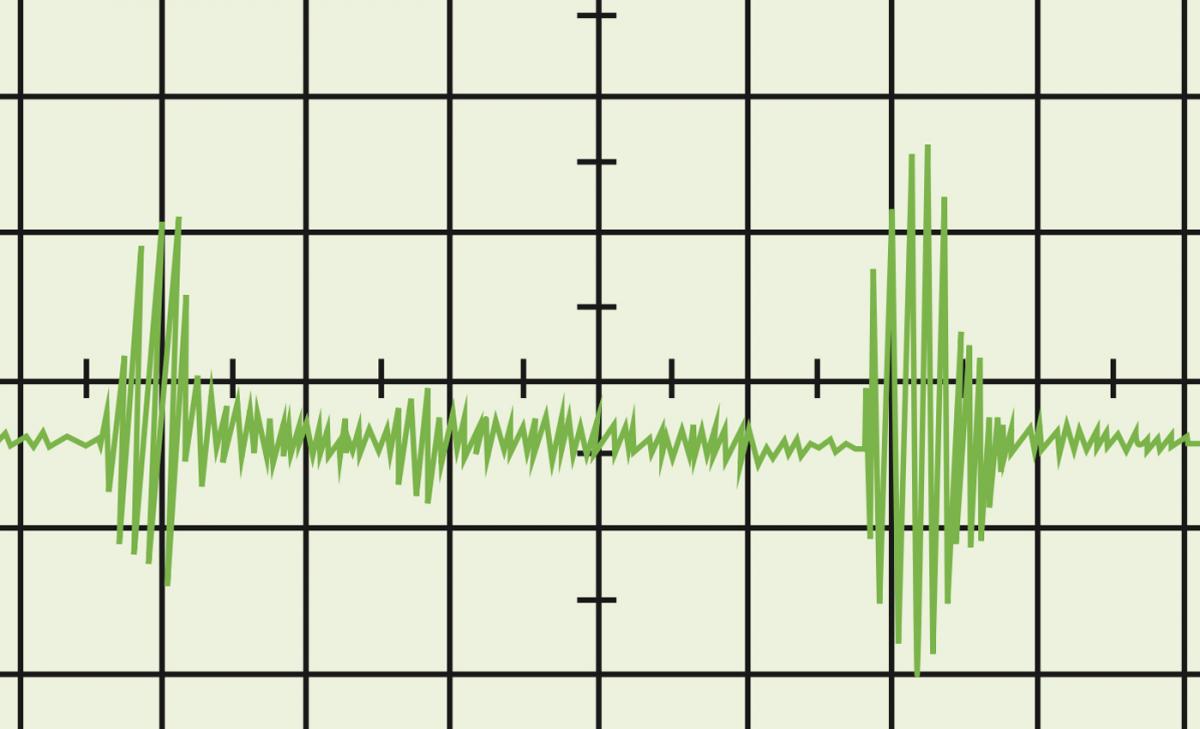
- A dual-channel oscilloscope (figure 3) to show the time delay between transmitting and receiving the radio waves (figure 4)
Your radio amateur will be able to provide the equipment, if necessary with the help of a local amateur radio club. If the radio amateur sends the signals from the amateur radio station, the returning signals can be streamed via the internet to be viewed at your school (see ‘A louder alternative’ section).
Yiygi_2b / Flickr
Dave Clausen / Wikimedia Commons
Elborgo / Wikimedia Commons
Nicola Graf
For the radio amateur
- Set up the transmitter/receiver and connect it to the antenna..
The antenna and radio transmitter should be within line of sight of the Moon, and the receiver should not be disturbed by interference signals, such as large electric installations nearby. You can find out where exactly the Moon is positioned in the sky, as seen from your location at the time of the experiment, by looking on the Sky Live websitew3. - Select an appropriate frequency in a VHF or UHF amateur radio band.
- Point the antenna towards the Moon.
- Connect the oscilloscope to the sound input of the transmitter so that it shows the signal being transmitted.
- Connect the output of the transmitter/receiver to the second channel of the oscilloscope.
- Transmit a signal in Morse code or as a series of pulses that easily show on the oscilloscope.
- On the receiver, listen for the reflection of your signal and watch it on the oscilloscope.
- Set the transmitter/receiver in the ‘break-in mode’ to quickly switch between transmitting and receiving.
- Adjust the antenna direction if needed.
- Align the two signals seen on the oscilloscope and read the time delay between them from the screen.
For the students
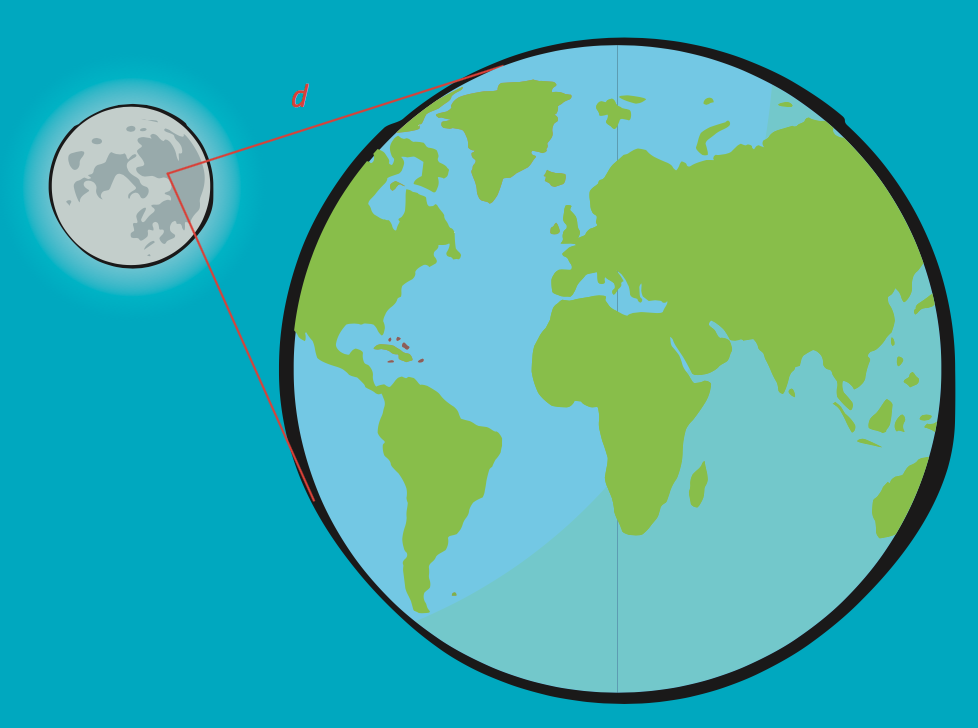
Using the time delay, calculate the distance d to the Moon using the following equation
d = (c x t) / 2
where
d = distance of Earth to Moon in metres
c = the speed of light, 3 x 10⁸ metres per second
t =time delay in seconds
The radio signal covers the same distance twice (Earth to the Moon, and back), hence the need to divide by 2
For example, with a delay time of 2.56 seconds:
d = [(3 x 108) x 2.56] / 2
d = 348 000 000 m
Extension options
- Radio-amatorul ar putea trimite şi recepţiona semnale multiple, astfel încât elevii să poată obţină mai multe măsurători ale timpului de întârziere, pentru a calcula o medie a valorilor şi respectiv o deviaţie standard, cu scopul de a creşte precizia rezultatului.
- Înregistraţi pe suport digital semnalele transmise şi recepţionate, folosind un dispozitiv audio simplu, precum smart-phone-ul, pentru a le putea analiza ulterior. Aceasta ar permite elevilor să deruleze activitatea şi în absenţa radio-amatorului.
Questions
Why does the distance to the Moon vary slightly depending on the observation point on Earth?
Due to the curvature of Earth, the simple formula introduces a small error: the distance to the Moon is slightly different depending on where the observation point is on Earth – close to the equator or closer to one of the poles (see figure 5). This error is very small compared to the huge distance from Earth to the Moon, so it is ignored for this experiment
Alberto ECJ / Wikimedia Commons / Public domain
The experiment to measure the distance to the Moon and back was carried out by several scout groups during their annual event, called Jamboree-On-The-Airiw4 (JOTA) in October. The groups were scattered all over the globe, so the aspect angle between their observation points and the Moon were all different.
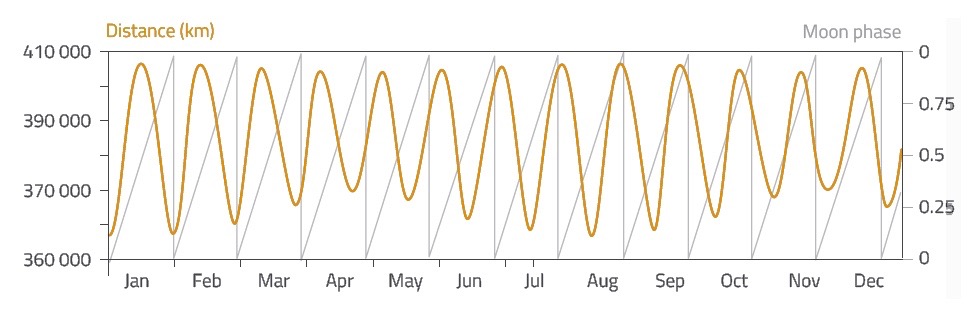
Why would the result vary if you repeated the experiment two weeks later?
The distance from Earth to the Moon is not completely fixed. The Moon’s orbit around Earth is not a perfect circle, so the distance varies slightly (figure 6). The experiment was carried out in the same weekend so the distance variation had little to no influence.
Darekk2 / Wikimedia Commons
What other sources of small errors are there in your experiment?
- Delays in streaming the signals over the internet introduces a small error in the calculated distance. This extra delay is typically an order of magnitude smaller than the delay caused by the signal travel time between Earth and the Moon and is therefore ignored in this experiment.
- The accuracy of the oscilloscope, which depends on the time base (the number of seconds per screen division), can also introduce errors. Typically, the reading can be accurate up to one-tenth of the time base setting. The lower the time base is set, the higher the sweep frequency and the more accurate the result.
- A weak signal (one that is only just visible above background noise) is more difficult to read on the oscilloscope screen. Identifying the time delay is open to errors, and variations of up to several hundreds of milliseconds can easily occur. Taking multiple measurements and using the average can reduce the error margin.
- Objects that partially block the path of the radio wave can cause the signal to scatter. This is more likely to occur in urban areas than in open fields and can result in multiple echoes that are visible on the oscilloscope, which in some cases can be stronger than the directly reflected signal from the Moon. As a result, students may mistakenly use the wrong echo to read the time delay.
A louder alternative
If the signal is not strong enough to carry out the activity using the method described for the radio amateur, or you wish to stream the radio signals via the internet, you can use this alternative method instead.
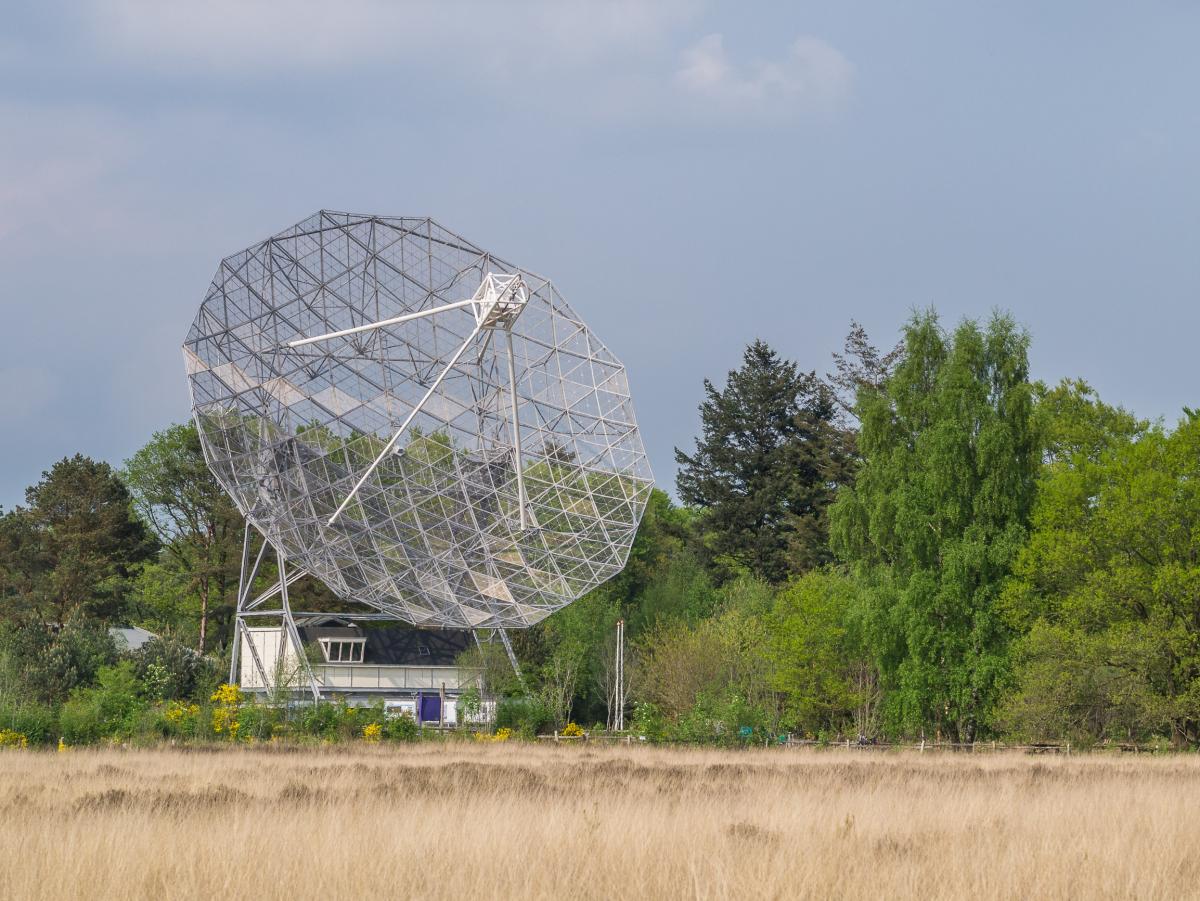
To determine whether the signal will be strong enough, the radio amateur should check the equipment sensitivity and find out exactly where the Moon is positioned in the sky prior to the activity. If they can’t hear the reflected signal, or if the visual signal is lost amongst background noise on the oscilloscope, they can use a large astronomy radio telescope at the Dwingeloo Radio Observatory in the Netherlands as the receiver (figure 7). The radio telescope has been refurbished and is operated by a group of radio amateurs. It receives the radio signal and converts it into a visible signal, which is streamed online and is available for anyone to vieww5.
Uberprutser / Wikimedia Commons
For the radio amateur
- In preparation, use the C A Muller Radio Astronomie Station (CAMRAS) websitew6 to check for planned activities at the Dwingeloo Radio Observatory. If the telescope is unavailable, you can find an alternative receiver listed on the WebSDR websitew7. Anyone – not just radio amateurs – can use the website at any time. Check that the Moon will be visible from the observatory at the time of your planned experimentw3.
- Follow steps 1–4 of the original procedure
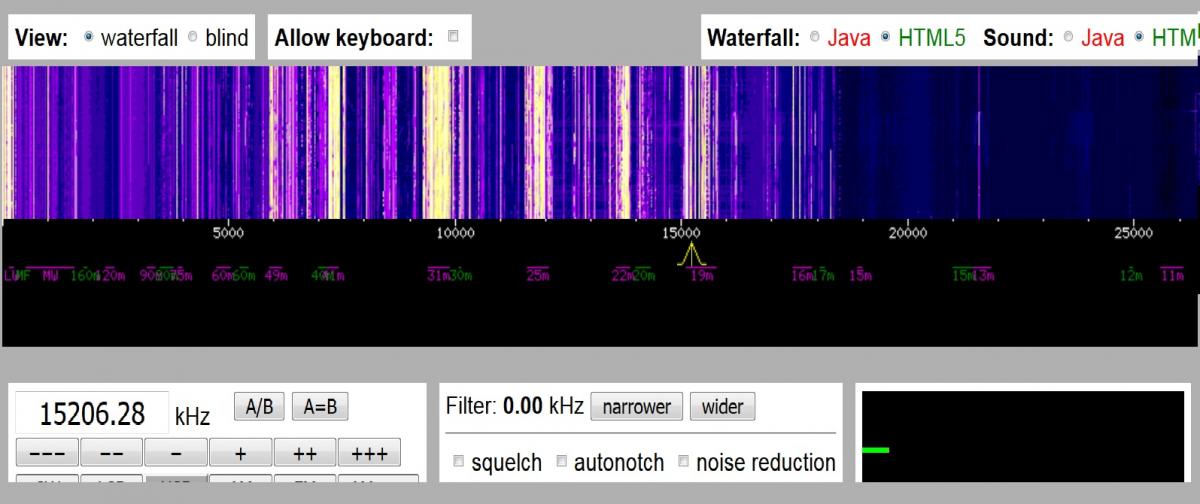
- On the CAMRAS webpage showing the WebSDR streamw5, shift the yellow slider to the same frequency that will be used to transmit your signal to the Moon (see figure 8).
- Transmit a signal in Morse code or as a series of pulses that easily show on an oscilloscope connected to your computer.
- On the computer, listen for the audio signal of the reflected radio wave and watch it on the oscilloscope. Students could also view the signals on separate computers.
- Align the two signals seen on the oscilloscope and read the time delay between them from the screen.
References
- Cenadelli D et al (2016) Geometry can take you to the Moon. Science in School 35.
Web References
- w1 – To find out the positions and times that the Moon rises and sets, visit the Heavens Above website.
- w2 – Find your radio amateur using the International Amateur Radio Union website..
- w3 – Find out exactly where the Moon is in the sky from your location at the time of your experiment using the Sky Live website.
- w4 – Jamboree-On-The-Air (JOTA) is an international event of the World Organization of the Scout Movementw8 (WOSM), encouraging scouts around the world to communicate with one another using amateur radio and the internet.
- w5 – Visit the CAMRAS WebSDR stream to hear radio signals received by the Dwingeloo Radio Observatory amateur telescope in The Netherlands.
- w6 – Find out whether the Dwingeloo Radio Observatory telescope will be available at the time of your experiment by visiting the CAMRAS website.
- w7 – To see a list of available radio receivers and to stream signals via the internet, visit the WebSDR.
- w8 – The World Organization of the Scout Movement (WOSM) is an independent, non-political, non-governmental organisation that is made up of 164 National Scout Organisations (NSOs) from 224 countries and territories around the world. With over 40 million members, WOSM is one of the largest youth movements in the world.
Resources
- For a physics experiment showing wireless electromagnetism, see:
- Iscra A, Quaglini MT, Rossi G (2006) Introducing radio transmission with a simple experiment. Science in School 3: 39–42.
- For an activity explaining how to make terrestrial measurements using the parallax method, see:
- Pössel M (2017) Parallax: reaching the stars with geometry. Science in School 39: 40–44.
Review
This activity can provide students with a unique opportunity to take a peek into the world of the experts, observe them while working and understand the science behind the instruments used. It is a fantastic way to put some of the theory learned about radio waves into practice, by calculating the distance of the Moon from different locations, and to investigate the Moon’s orbital pattern. It would also be a great opportunity to collaborate with another school on the other side of the globe and share results and experiences.
Catherine Cutajar, physics teacher, St. Martin’s College Sixth Form, Malta