Supporting materials
Download
Download this article as a PDF


What would the world look like if we could see infrared light? With some simple modifications, you can turn a cheap webcam into an infrared camera and find out!
Age range: 12–16 years old
Lesson time: 30 min per activity
Cost: medium (€10–30 per group)
Location: any indoor space with daylight
Requires: webcam and computer
This set of three activities will enable students to understand the electromagnetic spectrum and observe infrared radiation through the modification of a cheap webcam.[1] It provides a basis for discussion of how infrared radiation can be used to obtain information that is not available using visible light. Students will also analyze satellite images, providing them with a context to understand why it is useful to ‘see’ in infrared.
• Identify the different types of electromagnetic radiation.
• Describe different applications of infrared light.
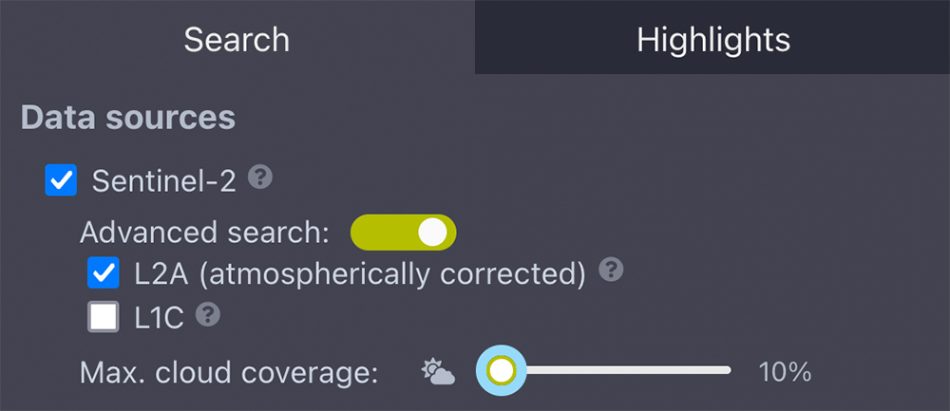
• Use tools available on the internet to collect and analyze satellite data.
• Understand how infrared light can be used to monitor the health of vegetation.
• Identify false-colour and true-colour satellite images.
The human eye can only see a very limited range of the electromagnetic spectrum: visible light. However, we can use different instruments to see what is invisible to us. Earth observation satellites, for example, carry scientific instruments that can see in the visible and infrared ranges, as well as other ranges of the electromagnetic spectrum. See Worksheet 1 for details on infrared radiation and why detecting it can be useful. In this activity, students will modify a webcam, so that it sees in near-infrared light rather than invisible light. Alternatively, the webcams can be modified in advance, and students can run Activities 2 and 3.


Cheap webcams are usually easier to disassemble than more expensive models. The example shown is a Trust Primo 17405 webcam.
Teachers should make sure that students understand that the hacked camera is a near-infrared camera, not a thermal-imaging camera!
The sensors used in digital cameras are sensitive to light with wavelengths up to around 1 micron (near-infrared). Thermal-imaging cameras use infrared radiation at longer wavelengths. All objects with a temperature above absolute zero emit radiation, and the higher the temperature, the shorter the wavelength of the emitted radiation. When the temperature of an object is high enough, the radiation emitted can even be detected by eye. We can see this in our kitchen: when a toaster reaches very high temperatures, it turns red!
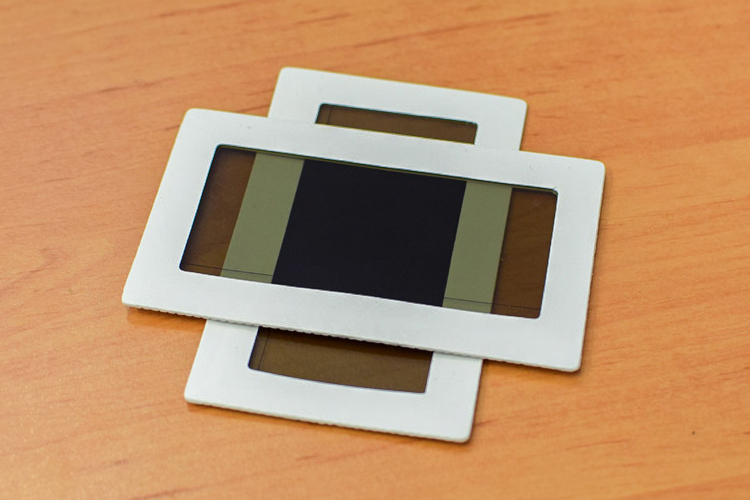
Now we use the modified webcam constructed in Activity 1 to examine everyday objects. Daylight is necessary for the experiment with the plants. The experiment should be tested in the classroom before doing it with the students. Depending on the light conditions, it may be necessary to block visible light by putting a polarizing filter/exposed film in front of the lens.
A simpler infrared experiment can also be done using smartphones and red, green, and blue (RGB) filters. Watch the ESA video seeing the invisible to learn how.
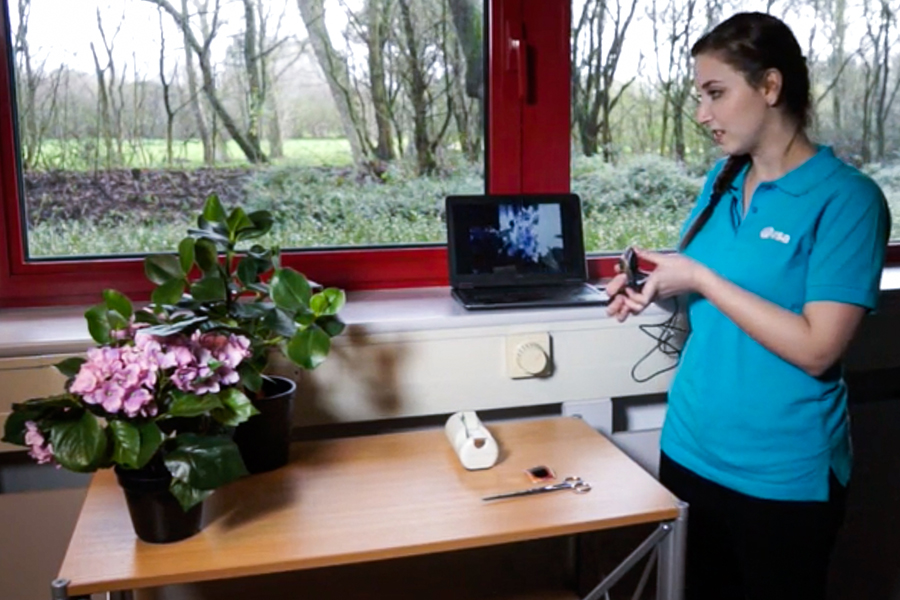
The remote control, the candle, and the LED light emit infrared radiation. With the help of the hacked webcam, students can ‘see’ this infrared light. By looking at light sources from daily life, like the LED light and the candle, the infrared camera allows us to investigate which one emits less infrared light and is therefore more energy efficient.
Looking at the plants with the hacked webcam, what we see is reflected daylight. Plants have a particular way of reflecting electromagnetic radiation. Chlorophyll in plants absorbs visible light to get energy for photosynthesis. Near-infrared light is not needed for photosynthesis; therefore, most of this light is reflected. When a plant becomes less healthy, for example, due to water scarcity, it reflects more of the visible light and less of the near-infrared light. We can thus use infrared images to judge how healthy a plant is.
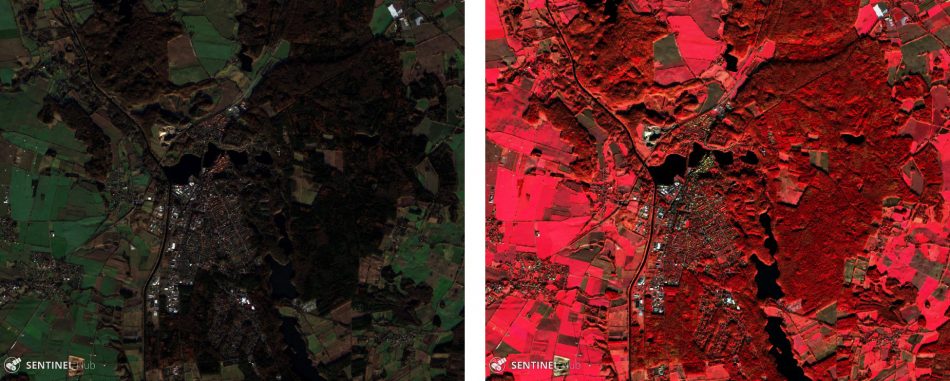
In this activity, students will analyze satellite images.[2] The activity introduces true-colour images and compares them to false-colour images that visualize near-infrared radiation. This provides students with a context, so that they understand why it is useful to detect near-infrared radiation.
These practical activities can be used to discuss the electromagnetic spectrum, Earth observation applications, and the monitoring of vegetation on our planet. The activities also provide a setting for discussing the impact of space technology on our future and on our everyday lives.
This article has been adapted from one originally published as the ESA teaching module Infrared Webcam Hack – using infrared light to observe the world in a new way.
[1] The original article from the ESA website: https://www.esa.int/Education/Teachers_Corner/Infrared_Webcam_Hack_-_Using_infrared_light_to_observe_the_world_in_a_new_way
[2] The EO Browser online platform to access satellite imagery: https://apps.sentinel-hub.com/eo-browser
Download this article as a PDF